How to Install NixOS on Google Compute Engine
· 7 min · NixOS, server, tutorial
⚠️ Prerequisites:
- make sure you have a running NixOS on some machine or at least access to nix-shell or nix shell CLI commands.
- you have enabled the Cloud Storage Buckets API on your project.
- you have created a bucket on your project (write down the bucket’s name!).
Steps:
-
on your NixOS, clone nixpkgs.
git clone --depth=1 --branch <nixOS_version> https://github.com/NixOS/nixpkgs.git -
run.
nix shell nixpkgs#google-cloud-sdk -
run
gcloud auth login.
this will open your browser to log in with your GCE Google account.
-
export your PROJECT_ID with this command.
export PROJECT_ID=<your_project_id> -
set your project on Google Cloud SDK with this command.
gcloud config set project $PROJECT_ID -
you can then check it was set with:
gcloud config get projectthis should print out your PROJECT_ID.

-
now, you can run this command to build and upload the NixOS image to your Bucket:
BUCKET_NAME=<your_bucket_name> nixpkgs/nixos/maintainers/scripts/gce/create-gce.sh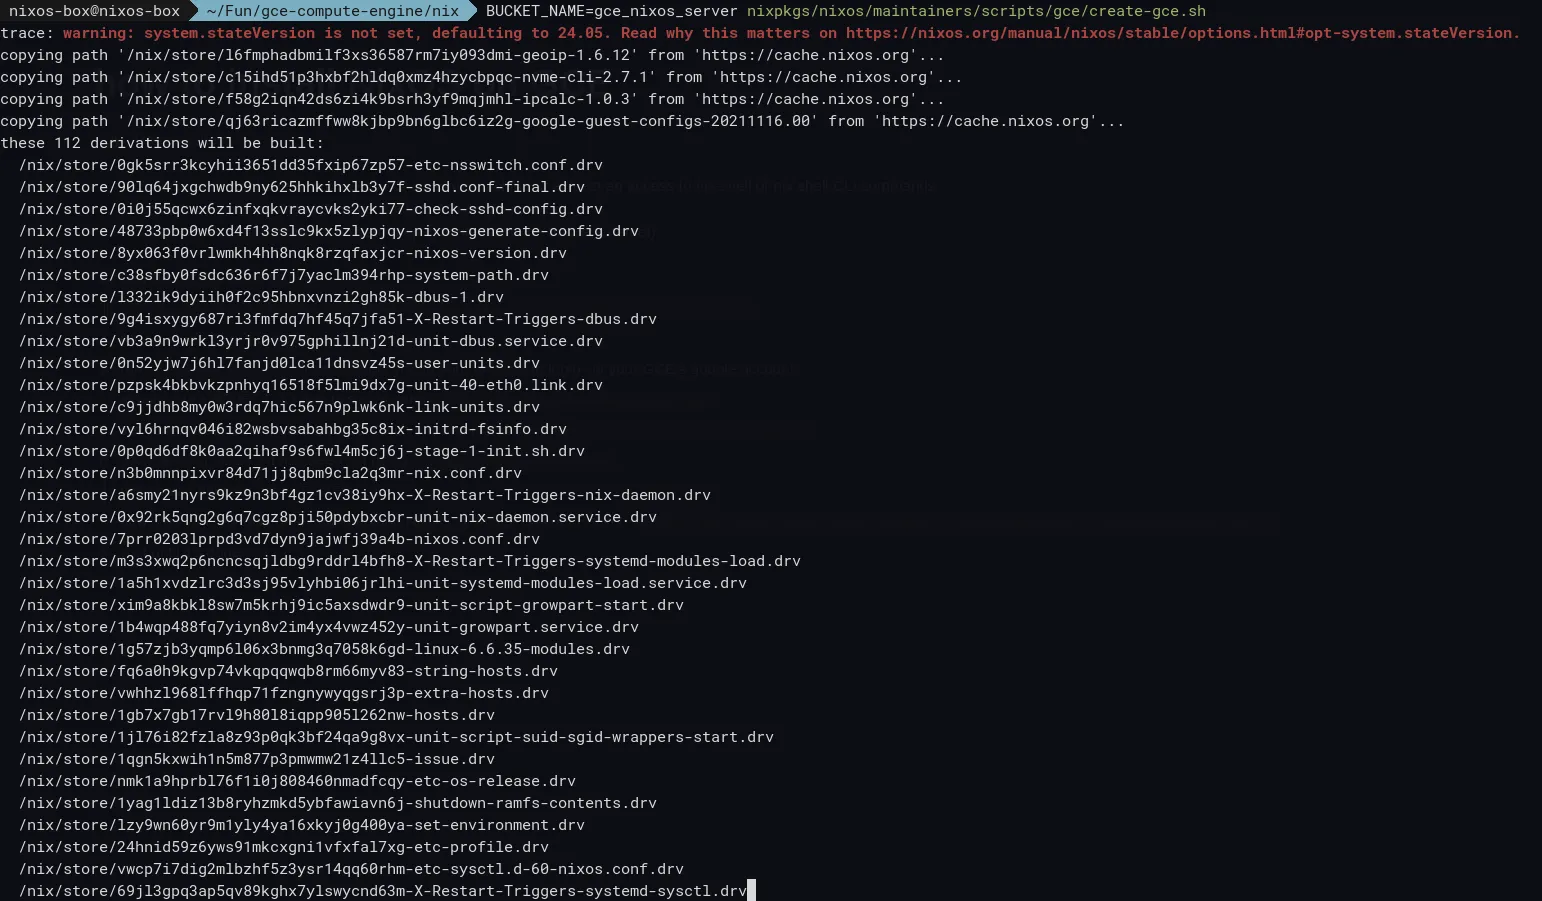
-
wait until it’s done.
this process runs a shell script that installs NixOS, compresses it to a .tar, and uploads it to your Bucket.
-
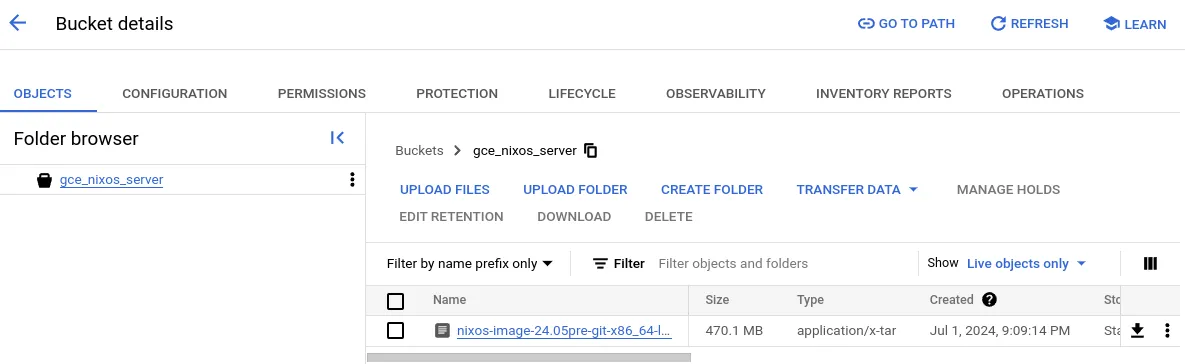
you can then check it on your Bucket. there will be a new file in there.
-
next step is to set the compute/zone (a.k.a. location) for the server you’re about to create. you can do this with
gcloud config set compute/zone <your_preferred_zone>e.g.
gcloud config set compute/zone asia-southeast1-b -
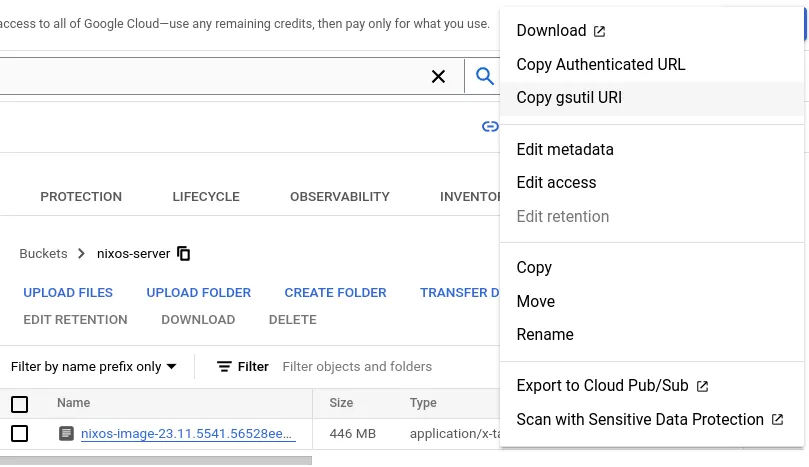
copy the URI of the NixOS image in your Bucket. you can do so by opening the image’s menu and selecting Copy gsutil URI.
-
now is the time to create a new image on your Google Compute Engine using the custom image you just created and uploaded to your Bucket.
run this command:
gcloud compute images create <your_server_name> --source-uri <your_image_uri>for instance:
gcloud compute images create gce-nixos-asia-southeast1-b --source-uri gs://gce_nixos_server/nixos-image-24.05pre-git-x86_64-linux.raw.tar.gz -
well done! if there’s nothing wrong, you’ll get this printed on your screen

-
now you can create a new instance on your Google Compute Engine as usual, but this time configure the Boot Disk: go to Custom Image, and then select the newly-created image.
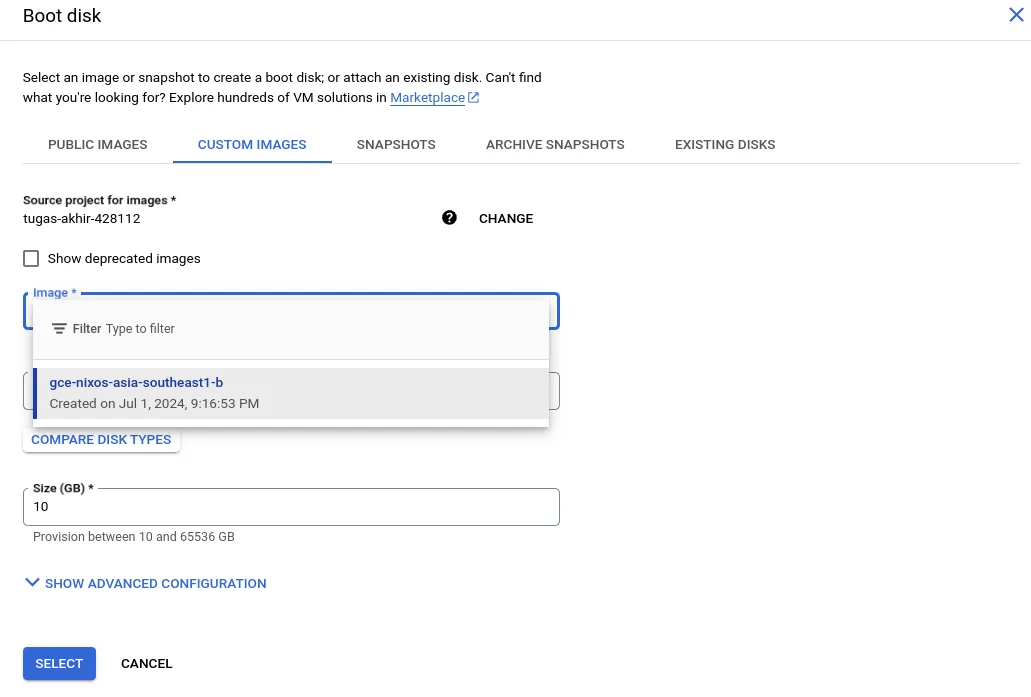
-
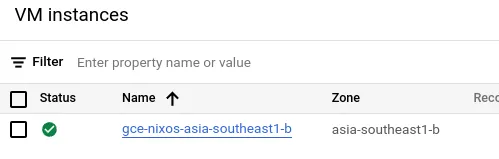
when everything’s good with your instance config, you can proceed to create your instance. after that you can go check your Compute Engine, there should be a new instance there!